Compress and Optimize Images with Responsive Lightbox & Gallery Plugin
WordPress galleries, such as those created by the Responsive Lightbox & Gallery plugin, are a combination of elegance and convenience. With galleries, you do not have to worry about re-arranging images. You also save space and can include as many images as you want. The problem is that a gallery is also bigger in size than a single image, and therefore it can result in slower loading times on your WordPress blog.
If you use galleries and are experiencing slow loading times on your WordPress blog, a good starting point to fix the issue is image optimization. By compressing and optimizing your images, you can save on loading times, simultaneously improving your WordPress users’ experience, and boosting your SEO results. ImageRecycle lets you do all of this.
Compressing Images for the Responsive Lightbox & Gallery Plugin
Responsive Lightbox & Gallery is a WordPress plugin to create galleries with lightboxes—images that pop out and overlay your content—very easily. The variety of customization options and the easy-to-use drag-and-drop interface have made the plugin extremely popular.

However, use too many galleries, and you will notice your WordPress blog takes longer to load. That does not mean you need to use fewer images, or to remove a gallery. A better solution is to keep all your lightboxes and galleries, but optimize the images. By compressing them, your WordPress blog returns to loading lightning-fast.
Whether you are using Responsive Lightbox & Gallery or any other gallery plugin gallery for WordPress, the first step to compressing and optimizing your gallery images is ImageRecycle. ImageRecycle is a plugin that lets you compress images in bulk, resize them and configure your WordPress blog to automatically optimize new images.
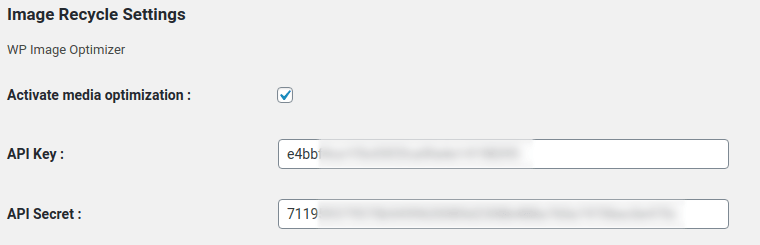
To start compressing images, download and install the ImageRecycle plugin. Before you can optimize any media, you need to activate your subscription. Head to ImageRecycle from the Settings menu. Insert your API key and secret, tick activate media optimization and save changes. If the API key and secret are correct, you should see the optimization quota bar up top.
After activating your ImageRecycle license, you can either start compressing images or customize your ImageRecycle plugin further. For example, you can choose to resize all images as soon as they are uploaded. You can also choose a compression type for different file types.
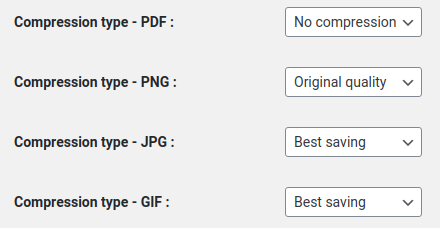
ImageRecycle supports two types of image compression: lossless and best saving. With best saving compression, you can save up to 80% of the file size when optimizing images. With lossless saving, you can reduce image sizes by 20% at most, but you can also revert them at any time. You can read more about the advantages and disadvantages of lossless and best saving compression here.
After you finish setting up ImageRecycle, it’s time to start optimizing Responsive Lightbox & Gallery’s images. Responsive Lightbox & Gallery uses WordPress’ media library. What that means for you is that you do not have to change your workflow. All you have to do is compress your WordPress media library and then use the optimized images anywhere, including in galleries and their lightboxes.
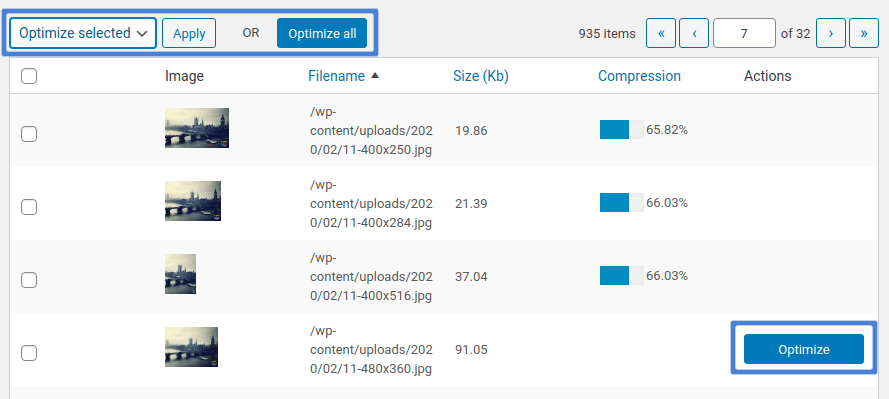
To optimize your WordPress media library, choose ImageRecycle from the Media menu. The table shows all the images found on your WordPress blog: their names, sizes and compression rate, if they have been optimized. The last column allows you to compress or revert images (if you are using lossless compression).
If you are new to ImageRecycle, relax—you don’t have to compress each image individually. ImageRecycle includes bulk optimization options: either select the images you want to compress and choose the optimize selected option, or click on optimize all to compress all of the images in your WordPress media library. Now, it’s time to use the newly-compressed images in Responsive Lightbox & Gallery.
Using Optimized Images in Responsive Lightbox & Gallery
After compressing your WordPress media library, you can use the optimized images in Responsive Lightbox & Gallery as you would use any other image. From the WordPress sidebar menu, create a new gallery. The first thing that you have to do is choose the images that go into the gallery.
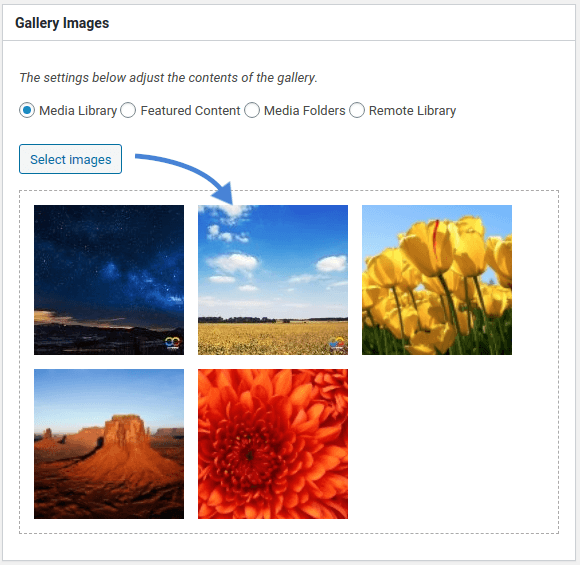
Click on select images and pick the files from your WordPress media library. Since these images have already been optimized, the Responsive Lightbox & Gallery plugin automatically uses the compressed versions.
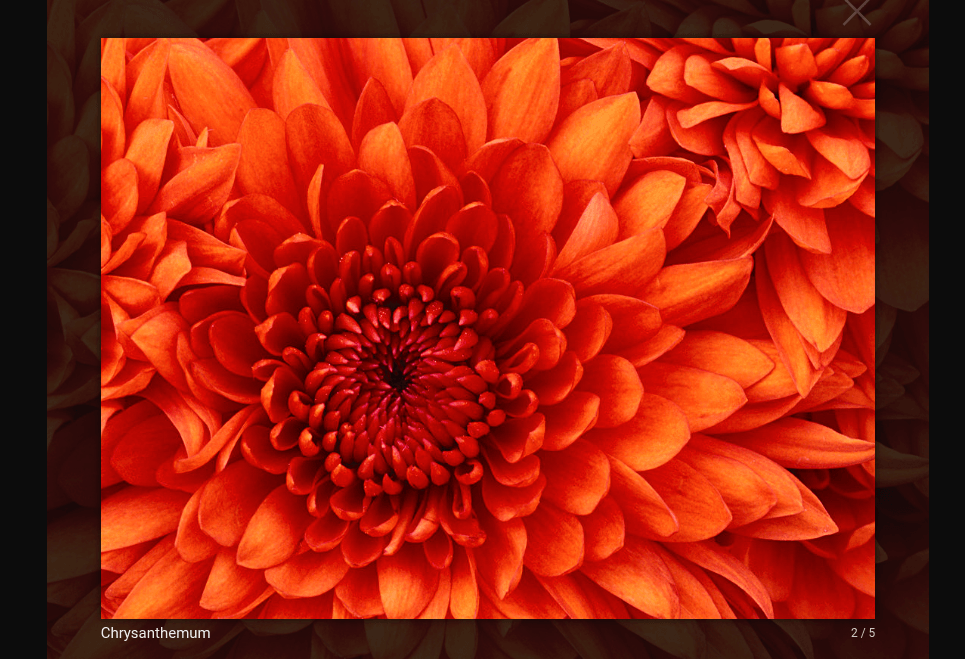
Everything else remains the same. You can insert the new gallery either by using the shortcode from the right sidebar, or by using the gallery block in WordPress’ Gutenberg editor. When you click on an image, Responsive Lightbox & Gallery loads a lightbox with the optimized media.
Just like that, Responsive Lightbox & Gallery uses your compressed images without you having to alter your workflow. If each image is compressed to 20% of its original size, you will have made those optimization gains on every single image in your galleries. The result: a faster WordPress experience without compromising on your content or changing your workflow.
- No comments found